How do I create a QuickBooks custom field for the Onsight sales rep
One of the customisations that we offer is to send the sales rep’s name into a custom field on the invoice or estimate. This can either be the rep who created the order or the rep that the customer was assigned to. This will then be shown with the other invoice details at the top of the printed invoice or estimate.
We need you to create a custom field to contain the Onsight sales rep. There are many different versions of QuickBooks and they have different ways of configuring custom fields. Please choose the method below that matches your QuickBooks.
Some versions of QuickBooks offer up to three custom fields (this is normally QuickBooks Online Simple Start, Plus, and Essentials but this might differ in various countries). These three custom fields can be updated via the QuickBooks API and therefore can be updated from Onsight. Other versions of QuickBooks have more than three custom fields (this is QuickBooks normally Online Advanced but this might differ in various countries). However, only the first three String custom fields can be updated via the QuickBooks API and therefore only the first three String custom fields can be updated from Onsight. The other custom fields are not updateable from outside of QuickBooks. If you are using a version of QuickBooks Online which has more than three custom fields, please make sure that your custom field is in the first three String custom fields. If it is not, you will need to shuffle the fields around till your custom field is in the first three. Custom fields cannot be deleted, only made inactive. Inactive custom fields are also counted.
Instructions for QuickBooks versions with three custom fields:
- Go to Settings
- Go to Account and Settings
- Go to Sales. You will see this screen:
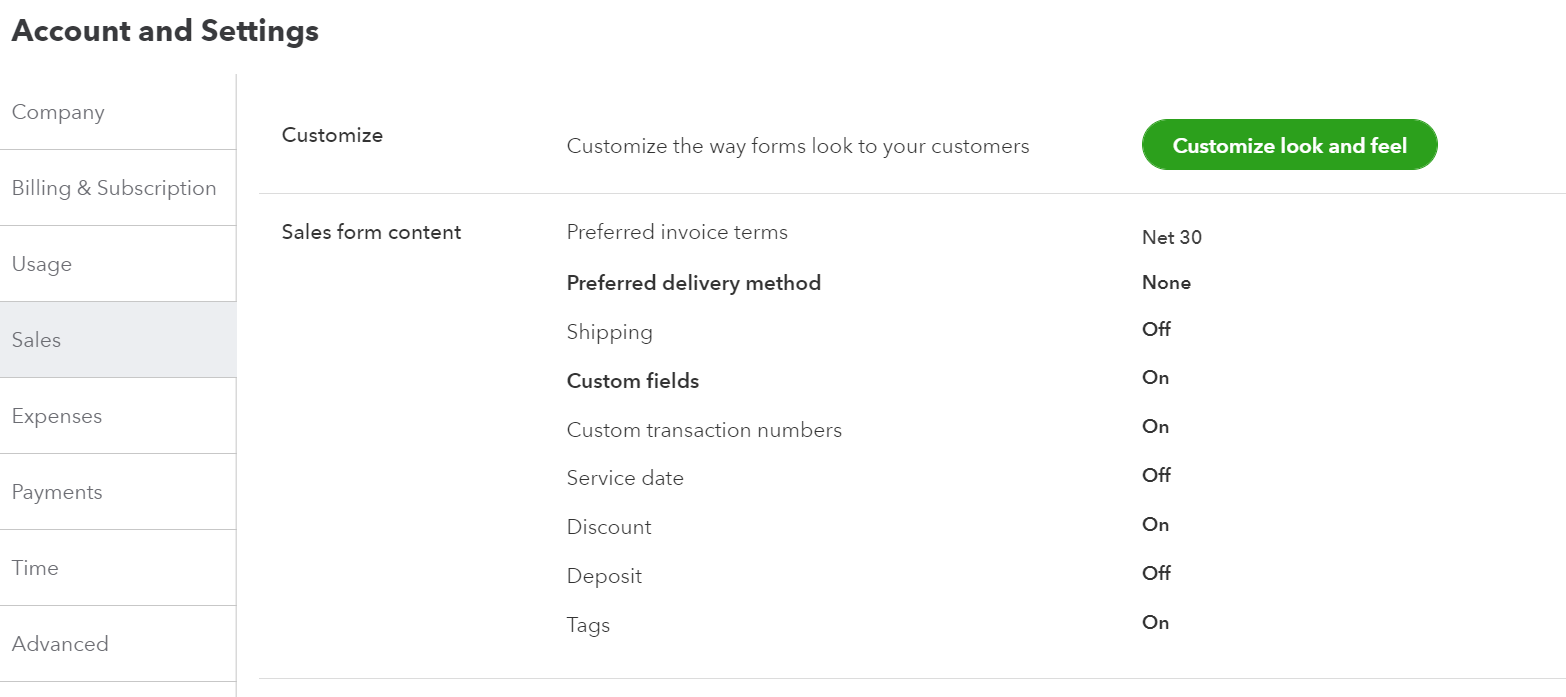
- Go to Sales Form content and click Edit
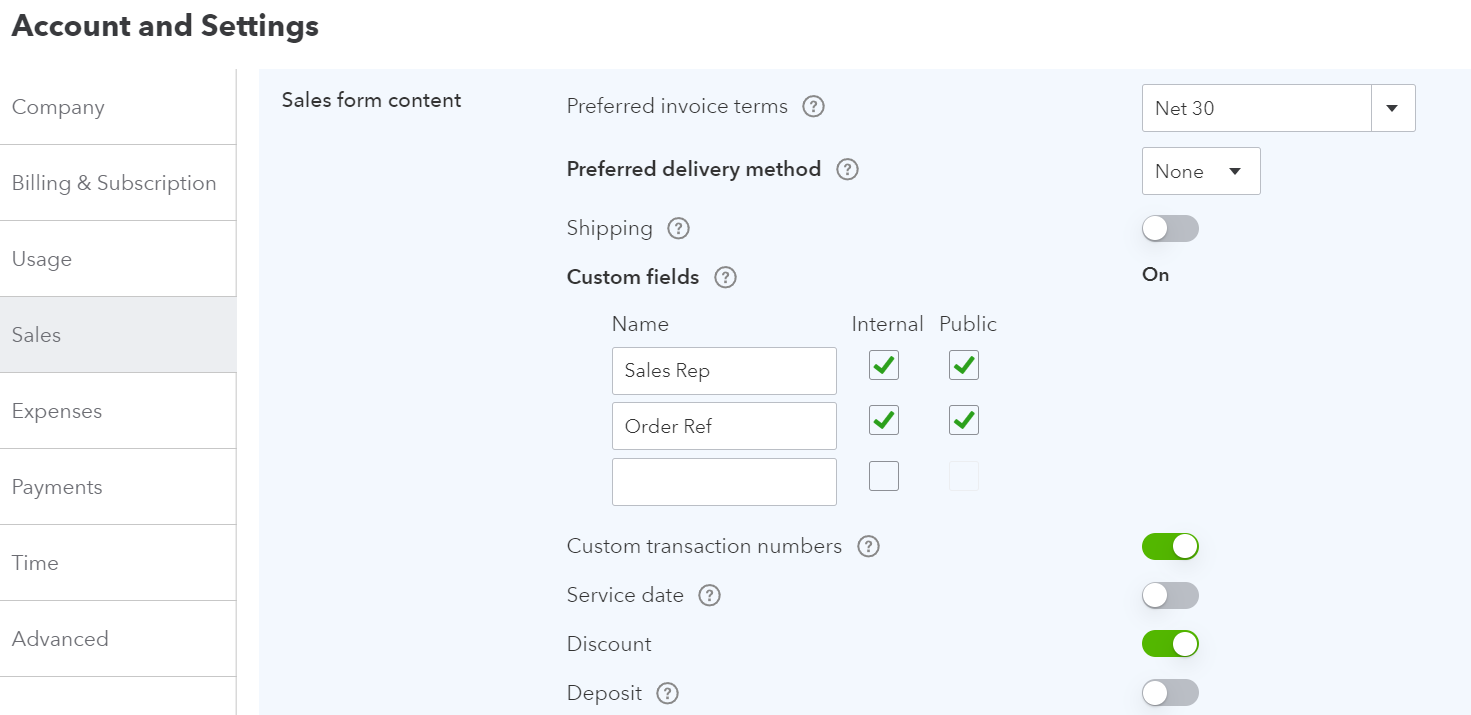
- Enable custom fields.
- Select Add custom field.
- Enter a name in the Name field. Eg. ‘Sales Rep’ or something similar.
- If you tick ‘Internal’ it will only be visible in QuickBooks.
- If you want the custom field to appear on printed and delivered forms, tick ‘Public’.
- This is how your custom fields should look:
- Select Save.
- Send us the same screenshot as above.
- We will use this information to configure your account to show the sales rep name. We will let you know once this is completed.
- Create a test order in Onsight and let us know if the sales rep name appears in QuickBooks.
Instructions for QuickBooks versions with more than three custom fields:
- Go to Settings > Lists > Custom Fields and configure the new custom field there.
- Create a new custom field. Make the name ‘Sales Rep’ or something similar.
- Make sure that the new field is in the first three String custom fields. If it is not, this entire process will not work.
- Choose which forms you want the custom field to appear on. You might only want the custom field to appear on your invoices and estimates. If so, remove it from the other types of forms.
- Click Save.
- Send us a screenshot showing all custom field INCLUDING inactive ones. You need to toggle the switch in the top right hand corner.
- We will use this information to configure your account to show the sales rep name. We will let you know once this is completed.
- Create a test order in Onsight and let us know if the sales rep name appears in QuickBooks.